Trailers - Design & Build
Steps to Organization & Success
The first step in any project is to PLAN with a capital P-L-A-N! This may seem boring and unnecessary, especially when you can just walk to your shop or garage and start welding something together. Welding it together first and planning as you go locks you into something you may find later isn’t appropriate. Use a piece of paper to start your building … and we’ll show you how easy it is to correct your mistakes before they’re cast in concrete … or steel, as the case may be. If you want to make a change just get out your eraser … or a clean sheet of paper. By the way, spouses tend to like the economies of this method, too.
As you draw, you will find groups of questions popping up that need to be worked through before you can finish drawing something. The correct design approach involves a whole series of “oh no, not again”… and “what do I do now?” This confusion can be terribly unsettling. But the success of the final product depends on your perseverance in thinking these things through. It may appear to be a lot more effort than the actual building. But that is only because there are so many questions brain-work and maybe foot-work to answer. If you follow a standardized procedure in answering your questions you can check off the steps as you go and it will seem a lot easier. Let’s look at these steps in detail so you know what to expect and have a pattern to follow.
The process for designing a trailer is the same as for designing anything else. It involves a step by step sequence which leads to an end product. Each step can be rather involved and take a lot of time. But please don’t despair. Properly attended to, each step will lead to the next and may answer questions you’ll have further downstream. Before you know it everything will fall together and you’ll be at your last step. The steps to guide you to success are as follows:
- State the problem (basic requirements for the trailer);
- Lay out the basic product using only general, basic dimensions;
- Investigate thoroughly the options available;
- Calculate material sizes and overall configuration;
- Select materials using calculated answers as a guide;
- Decide on final dimensions to be used;
- Investigate & select all components;
- Determine relative positions of all parts and pieces;
- Lay out the final design using chosen parts and pieces;
- Transfer all info to the final layout.
These steps are not necessarily done in this order, although it is the order in which you will first encounter the steps. New information obtained in any one step may modify a decision you have already made and cause you to rework a previous step. This checking, changing and rework gives you the ultimate design. It is important to let this process occur; don’t allow yourself to become impatient or say “I’ve already done this.” Do it again and again until it is as perfect as you can get it.
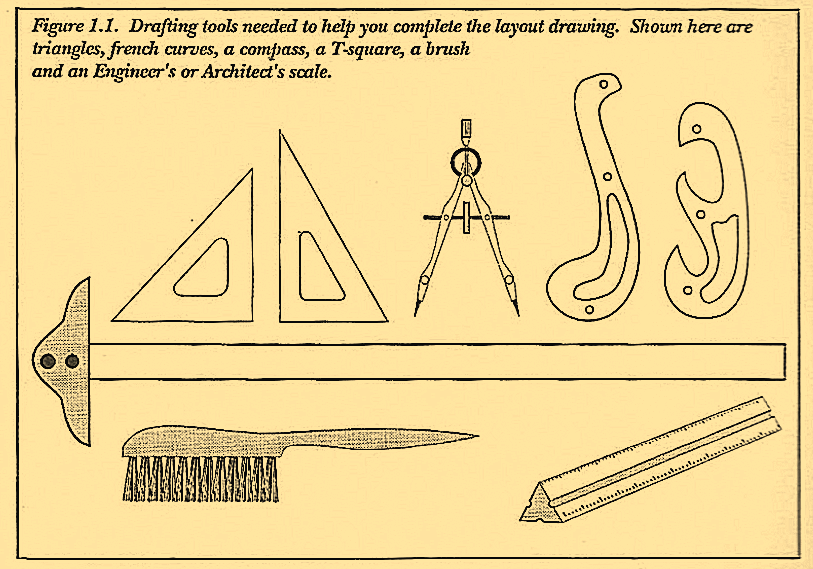
It’s all done on paper with a pencil, a few straight edges, triangles and lots of erasers. Some of these useful tools are pictured in Figure 1.1. These are the same ones you may have used in high school drafting class. Hauling out that old high school equipment will bring back some memories along with a raft of useful tools. And for us frugal folks using what we have can be a financial boon.

Tools in the form of tables, equations and methods are also necessary. Volume 2 discusses this aspect of design. Used in conjunction with your drafting tools, they give you what it takes to put a trailer design together. All it costs is time – no investment in metal before you’re ready. A few chapters into this book, the whole process will be more familiar and comfortable and the steps will fall into place.
Setting goals is another useful tool for moving your project forward. Although your overall goal is to build the trailer, setting your first goal at some intermediate point will minimize discouragement. In fact, if the overall goal to build a trailer is your focus, the importance of a drawing can be easily underestimated—sometimes enough to cause you to completely ignore it. After the drawing is done, though, your next goal can be to specout all the required materials; next to buy the materials … and so forth.
Doing it step by step in this manner is much more approachable than looking to the overall completion of a hand-built trailer.
As you read through this series of books, Volume 1, 2 and 3, many of the complex technical terms you need to understand the trailer, the tow-car and the combination vehicle (trailer and tow-car together) are defined and explained. Use the steps to simplify your project, to give you a guide-line and help you make decisions before you cut metal. The steps will help you in building any project. As you read through this and the next few chapters, continually refer back to the original outline to keep you on track.
